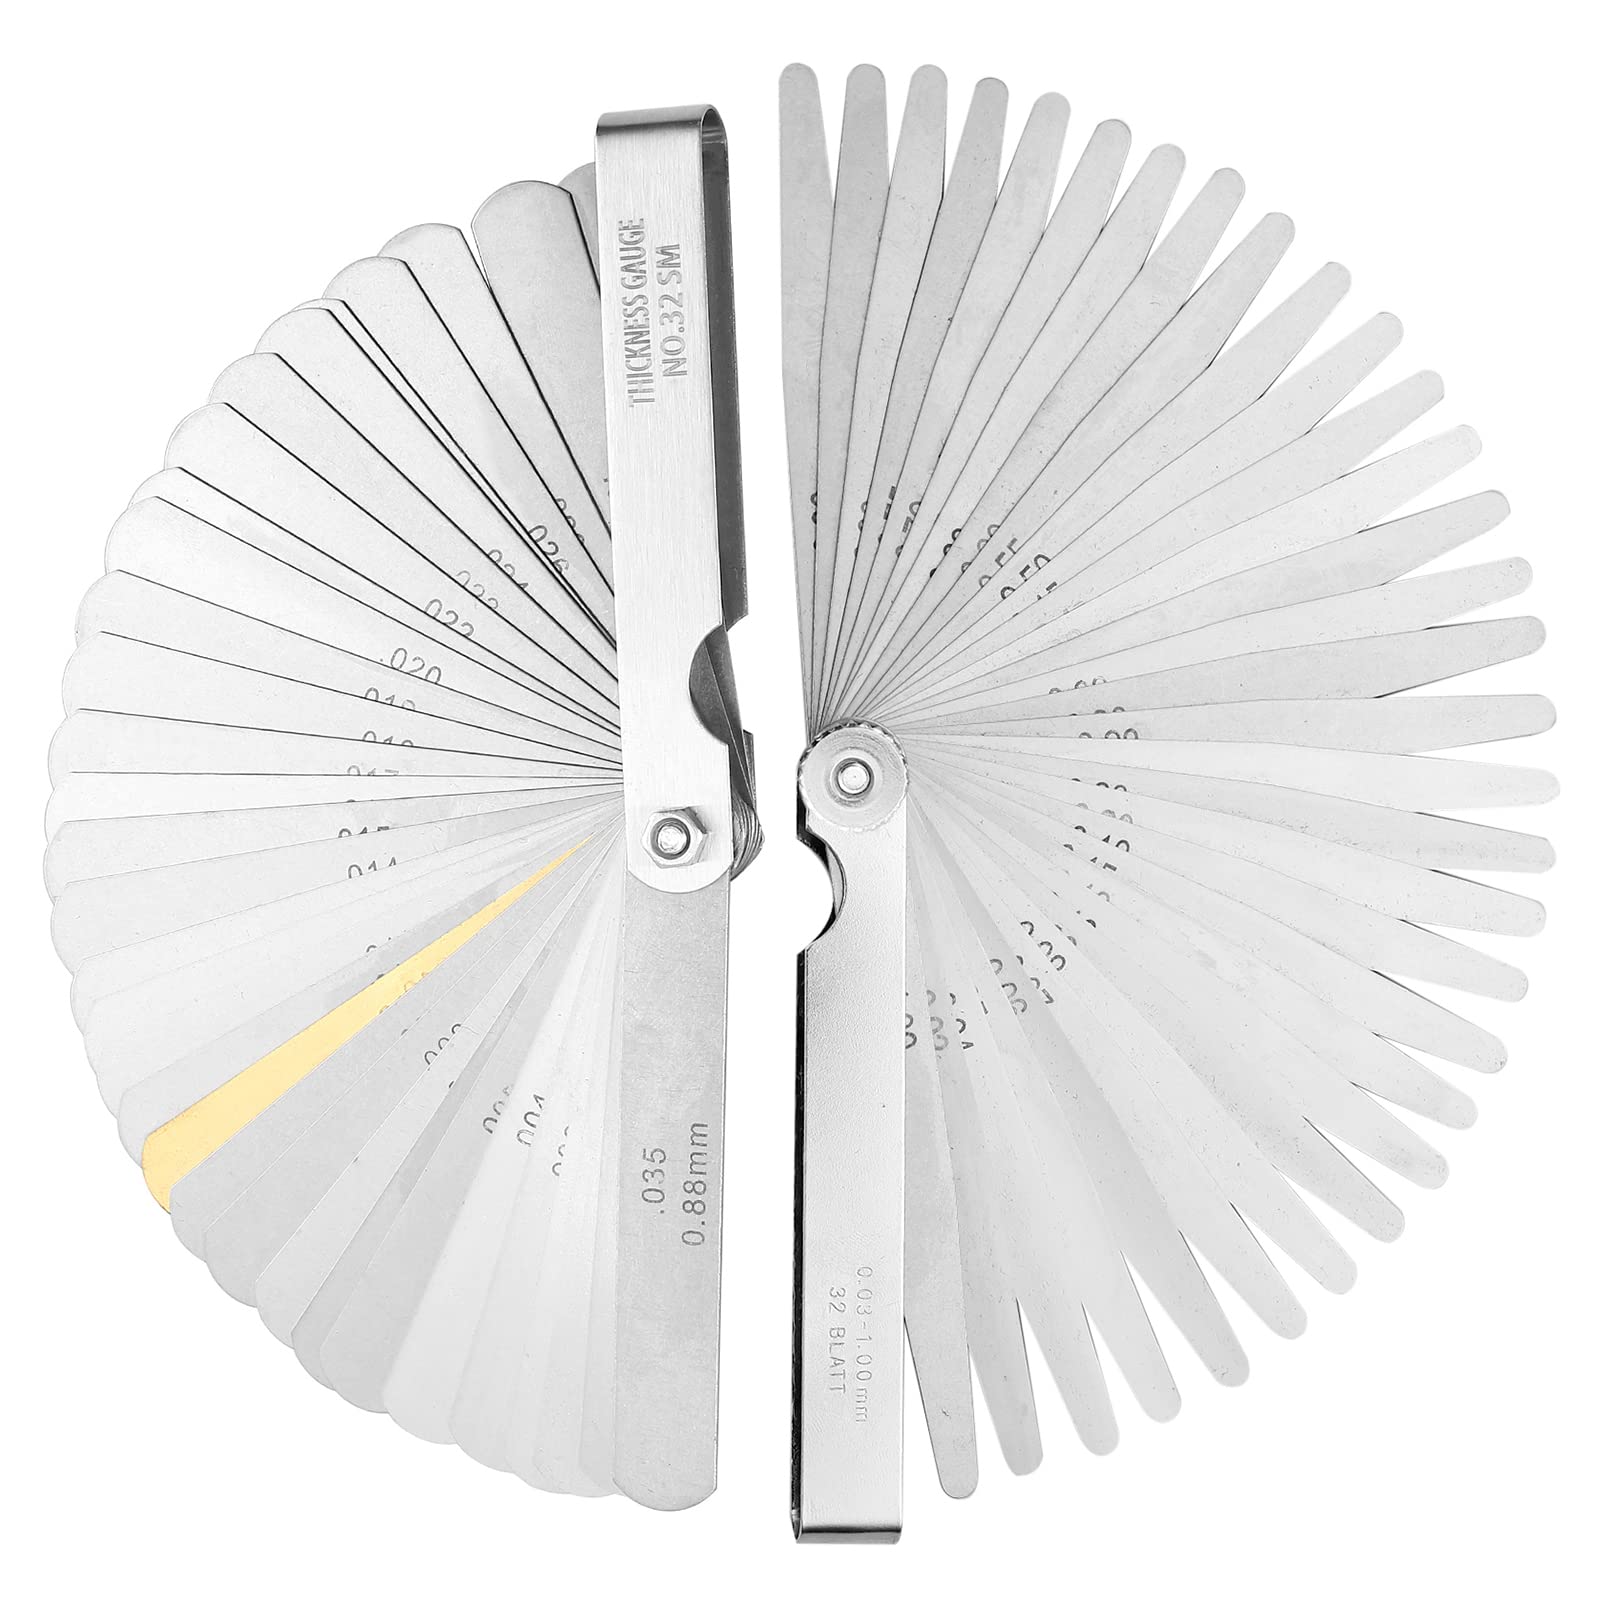
What Size Feeler Gauge for 3D Printer
There are a few things to consider when choosing the right size feeler gauge for your 3D printer. The first is the type of filament you’re using. ABS and PLA filaments have different melting points, so you’ll need to use a different size gauge for each.
The second consideration is the nozzle size. A smaller nozzle will require a smaller gauge, while a larger nozzle can use a larger gauge. Finally, you’ll need to consider the layer height you’re printing at.
A thinner layer will require a smaller gauge, while a thicker layer can use a larger one. With all of that in mind, let’s take a look at some of the most popular sizes of feeler gauges for 3D printers. For ABS filament, the most common size is 0.4 mm.
For PLA filament, the most common sizes are 0.2 mm and 0.3 mm. And for nozzles with a diameter of 0.4 mm or less, the most common gauges are 0.1 mm and 0.2 mm.
If you’re not sure what size feeler gauge to use for your 3D printer, here’s a quick guide. For most 3D printers, a 0.4 mm feeler gauge is the best choice. This thickness will ensure that your prints are accurate and have a good surface finish.
If you’re printing with ABS plastic, you may want to use a thicker gauge, such as 0.6 mm, to prevent warping.
Credit: filament2print.com
How Do You Use a 3D Printer Feeler Gauge?
If you want to use a 3D printer feeler gauge, there are a few things that you need to know. First, you need to make sure that the gauge is properly calibrated. Second, you need to be aware of the limitations of the gauge.
And third, you need to understand how to properly use the gauge in order to get accurate results. Calibration is important because it ensures that the readings from the gauge are accurate. If the readings are not accurate, then it can lead to inaccurate results when using the gauge.
There are two ways to calibrate a 3D printer feeler gauge: manual calibration and automatic calibration. With manual calibration, you will need to set the zero point and span for the gauge yourself. This can be done by following the instructions that come with your particular model of gauge.
It is important to note that manual calibration is only necessary if you plan on using the feeler gauge for precision measurements. For general use, automatic calibration should be sufficient. Automatic calibration is performed by simply turning on the power switch for the gauges themselves before use.
The process takes just a few seconds and requires no input from users beyond flipping said switch. This method should provide more than adequate accuracy for most users’ needs as it automatically sets both zero and span points based upon built-in algorithms within each individual unit . . .
How Much Space Should Be between Nozzle And Bed?
It is recommended that you have a gap of 0.1-0.2mm between the nozzle and the bed. This ensures that the filament can flow smoothly and evenly, without any blockages. If the gap is too small, then the filament may not be able to flow through properly, which could cause clogs or jams. If the gap is too large, then there may be gaps in your print where the filament hasn’t been deposited correctly.
How Close Should a 3D Printer Nozzle Be?
One of the great things about 3D printers is that they can be used to create objects of all shapes and sizes. But when it comes to choosing the right nozzle size for your project, there are a few things you need to keep in mind. The size of your nozzle will largely be determined by the type of material you’ll be printing with.
For example, if you’re using PLA filament, you’ll want to use a smaller nozzle (around 0.4 mm) so that the plastic can flow more easily and produce smoother results. On the other hand, if you’re printing with ABS filament, you’ll need to use a larger nozzle (0.8 mm or higher) so that the plastic doesn’t warp or deform during the printing process. Another thing to consider is the resolution of your print.
If you want your object to have fine details and smooth edges, then you’ll need to use a smaller nozzle so that each layer is thinner and more precise. However, if you’re not worried about resolution and just want your print to finish faster, then you can use a larger nozzle without sacrificing quality too much. Ultimately, it’s up to you to decide what size nozzle works best for your needs. experiment with different sizes until you find one that produces the results you’re looking for!
How Thick Should 3D Printed Supports Be?
There is no definitive answer to this question as it will vary depending on the object being printed, the material being used, and the printer itself. However, a good rule of thumb is to make your supports at least 0.5 mm thick. This will ensure that they are strong enough to support your object during printing but thin enough so that they can be easily removed afterward.
Leveling or Tramming your Bed Using a Feeler Gauge on Ender 3 V2
What Feeler Gauge for Bed Leveling Ender 3
When it comes to 3D printers, the process of bed leveling is extremely important in order to ensure that your prints come out correctly. There are a few different ways that you can level your bed, but one of the most popular methods is using a feeler gauge. In this blog post, we’ll be taking a detailed look at what feeler gauges are and how they can be used for bed leveling on the Ender 3.
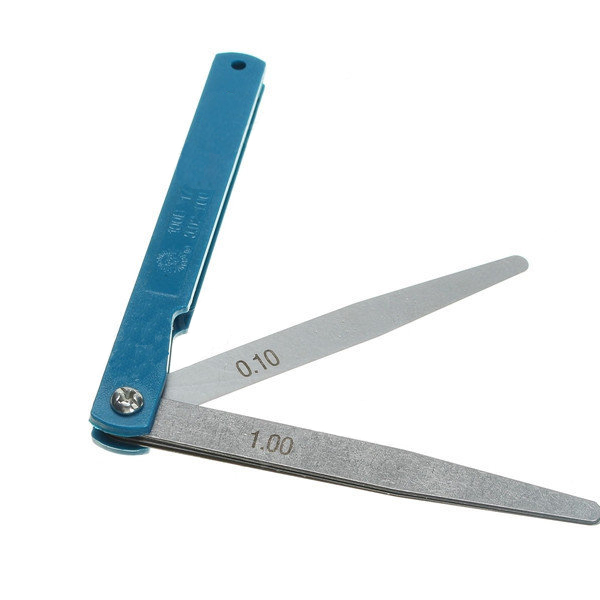
A feeler gauge is a tool that is used to measure small gaps or spaces between two surfaces. They typically consist of a thin blade with a handle that allows you to insert the blade into tight spaces. Feeler gauges come in a variety of sizes, so it’s important to choose one that will fit snugly into the space between your Ender 3’s build plate and nozzle.
To use a feeler gauge for bed leveling, start by inserting the blade into the space between the build plate and nozzle. If there is resistance when inserting the blade, then this indicates that there is already an existing gap between those two surfaces. Next, slowly move the blade back and forth until you reach the point where there is no longer any resistance.
At this point, you’ve found the largest possible gap between those two surfaces. Now that you know what size gap exists between your build plate and nozzle, you can adjust your printer’s Z-axis offset accordingly. The general rule of thumb is to add 0.1mm to your Z-offset for every 0.5mm of space that exists between your build plate and nozzle (so if you have a 1mm gap, you would add 0.2mm to your Z-offset).
Once you’ve made this adjustment, re-run your bed leveling routine to make sure everything is still correct before beginning your print job!
Conclusion
3D printers are becoming increasingly popular, and one of the most common questions people ask is what size feeler gauge to use. The answer depends on the type of 3D printer you have. If you have a FFF (fused filament fabrication) 3D printer, then you’ll need a feeler gauge that’s 0.4 mm thick. For an SLA (stereolithography) 3D printer, you’ll need a feeler gauge that’s 0.1 mm thick. And for an SLS (selective laser sintering) 3D printer, you’ll need a feeler gauge that’s 0.05 mm thick.